Getting started on achieving my goals…

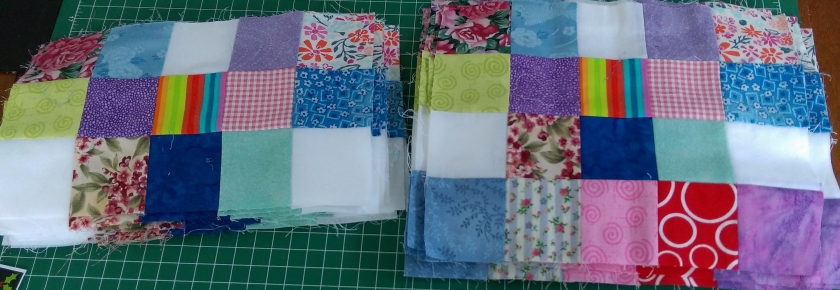
When I started this blog my plan was to complete quilting 4 quilt tops and finish my heart quilt top by Christmas, that was six weeks ago…

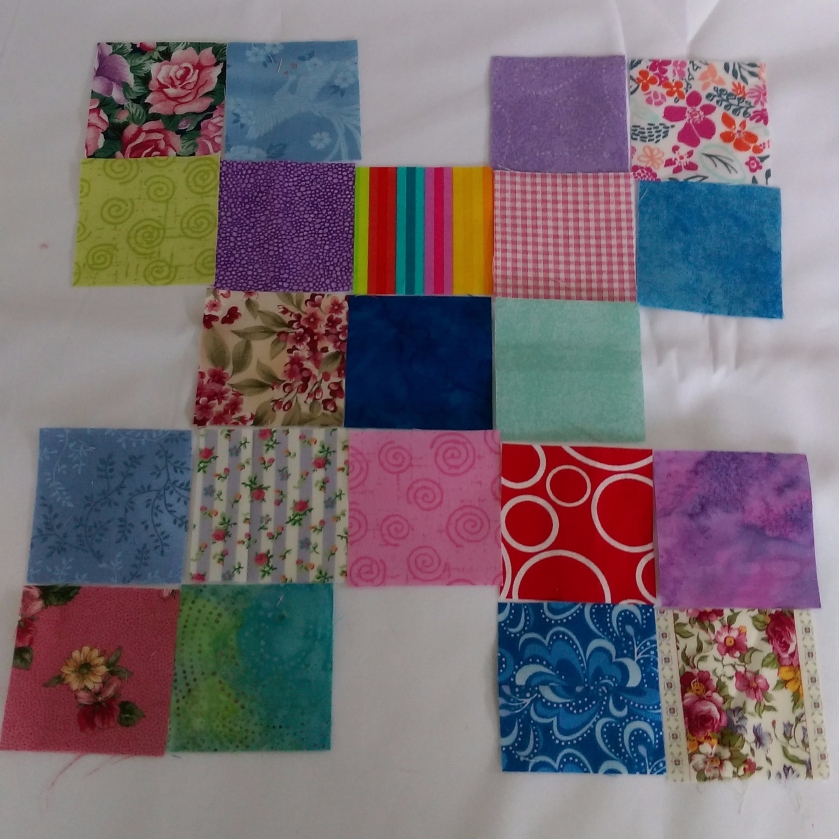
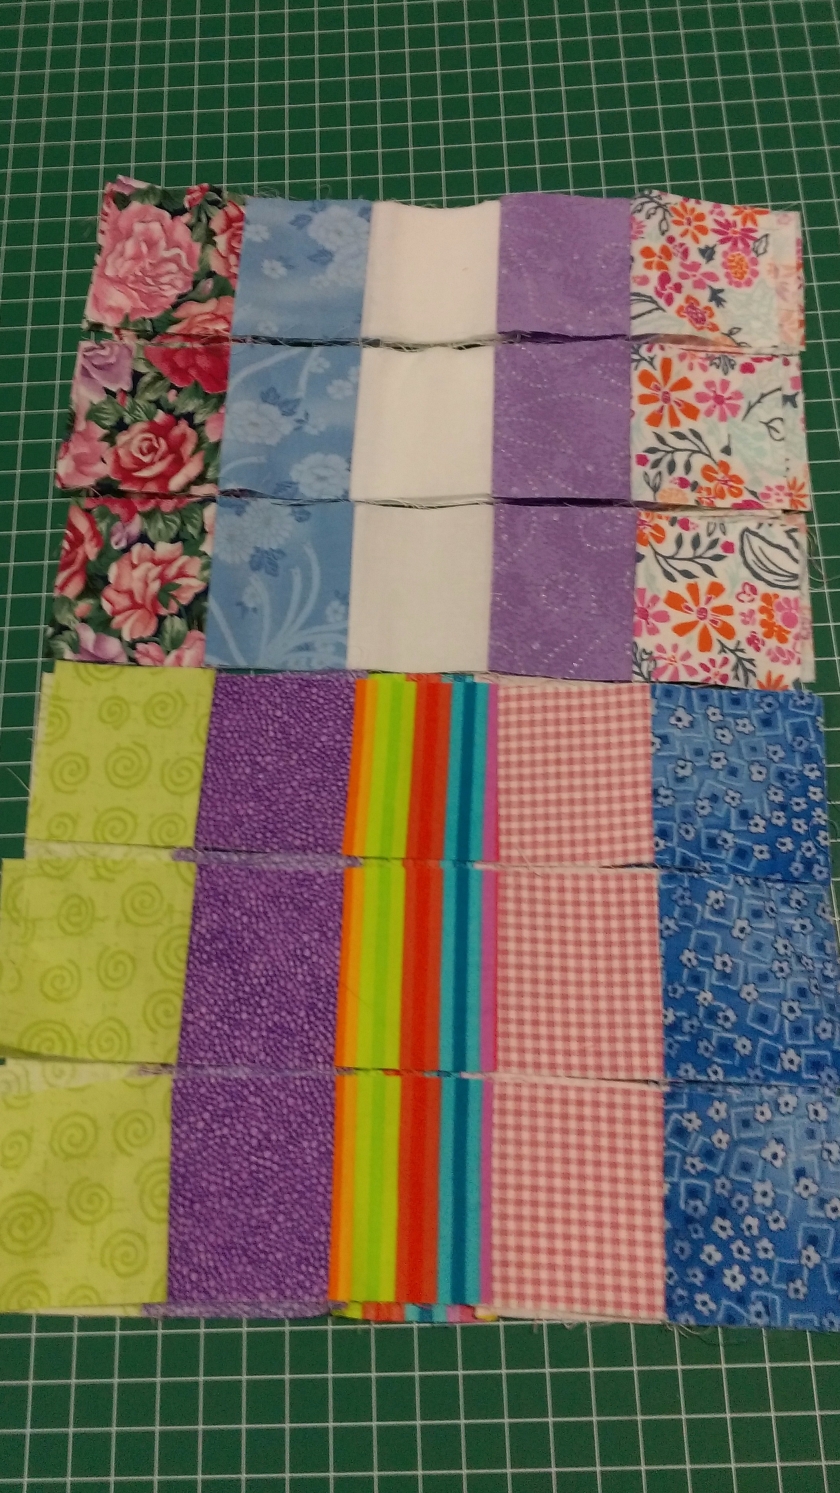
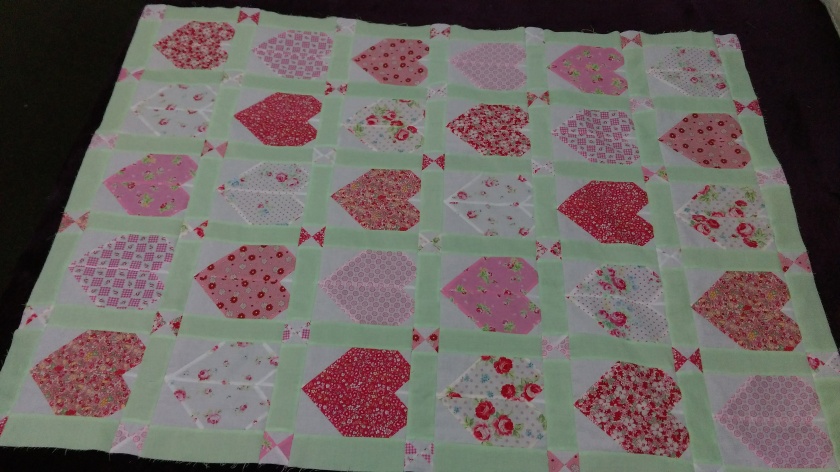
I will start with the heart quilt top.

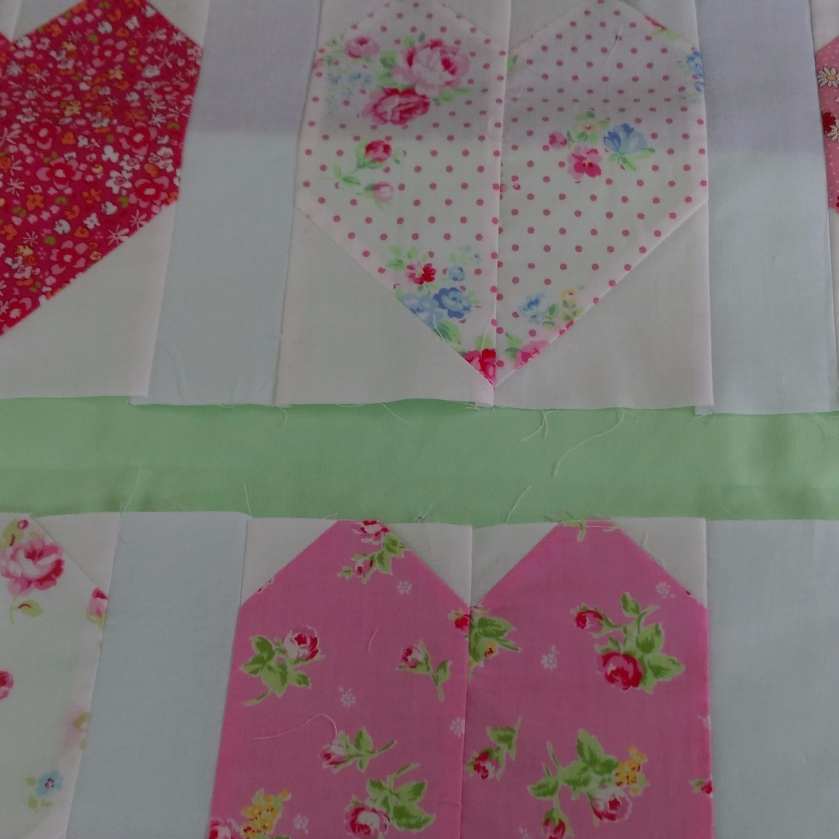
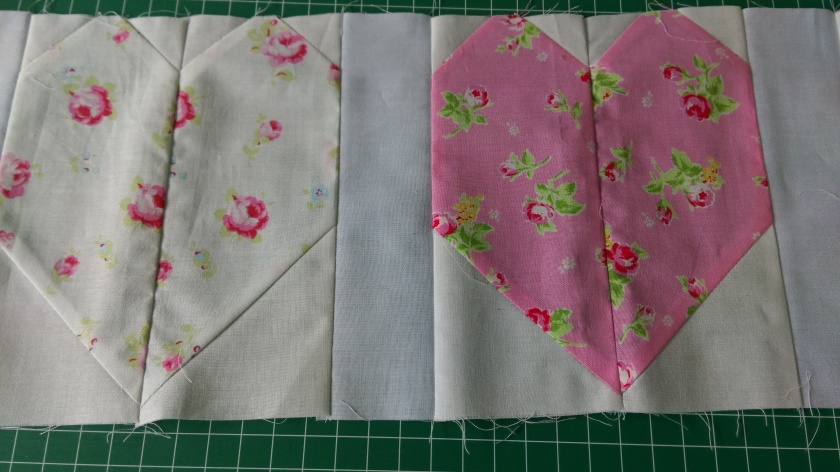
So far I have finished the sashings after the mix up with the fabric that didn’t match. In the end I chose to go with a mint green for the sashings and I am extremely happy with the result. Now all I need to do is choose a fabric for the border.

IMAG1124

Now for the quilting project.

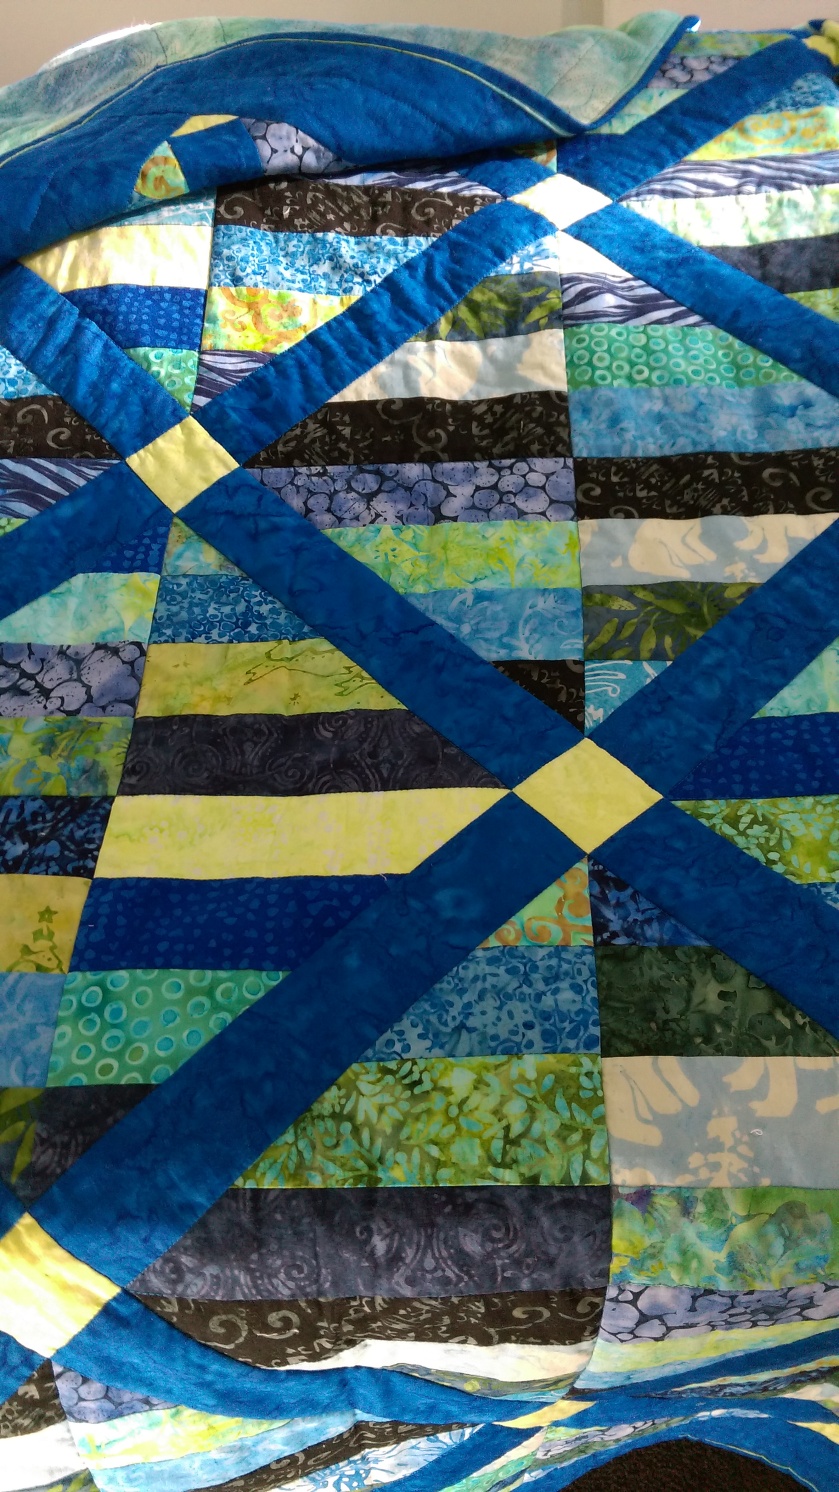
Today I started to quilt the first of my 4 quilt tops, this will be the first quilt that I have actually made for myself. I joined a group that was a mystery puzzle quilt that was done by Sheila Christensen of Quilters Lane in New Zealand. The instructions for this quilt were purchased every month through Craftsy, which explained how to cut and make the blocks which were all odd shapes and sizes with a final instruction sheet on how to assemble the quilt if were unable to work it out yourself. I was able to work out the pieced borders, the corners of the quilt and the pinwheel in the centre, I had no idea that the main feature of the quilt was a star.

I added two more borders to make it a Queen size quilt to fit my bed. Last night I spent the evening crawling around on the floor pin basting the layers that would be about 300 pins, I might add I was pretty sore after spending all that time crawling around the floor not to mention the amount of time I stuck a pins in my fingers.

IMAG1133

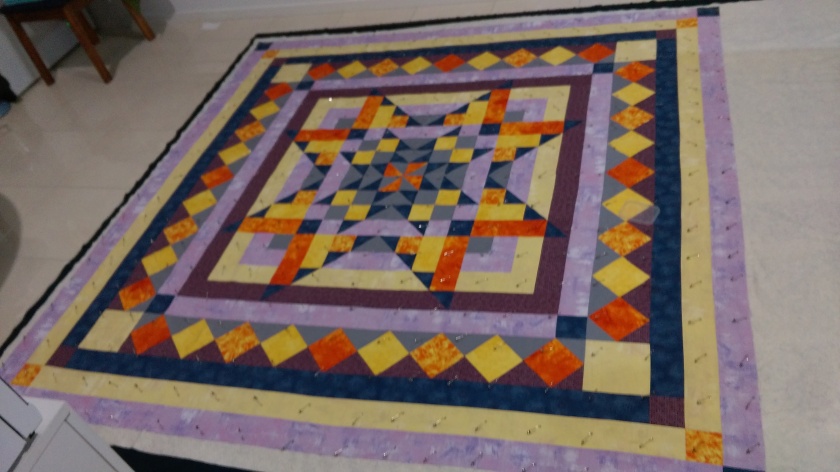
So far I have used the stitch in the ditch to quilt around each expansion of the star and I quilted an extra row between the middle and outer star for consistency.

IMAG1135

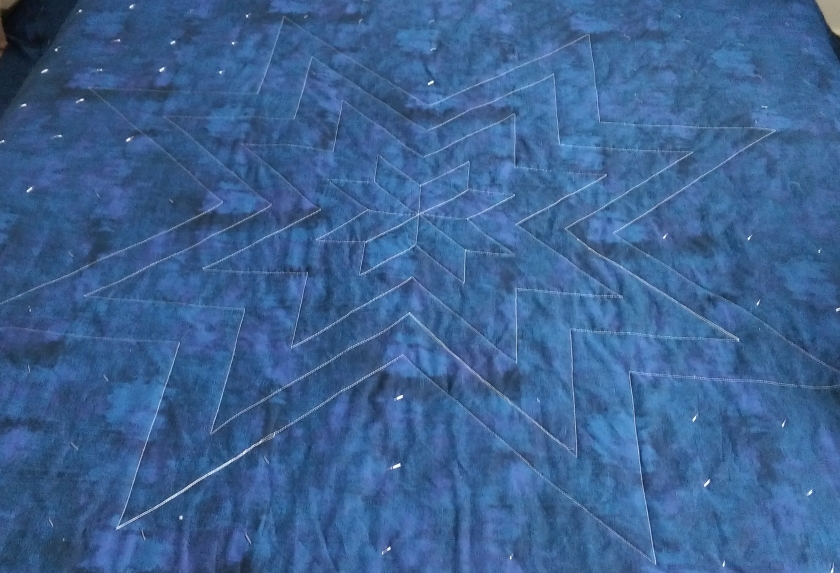
Now that I have finished that I have to decide how I want to fill in the spaces between the points of the star. I have three ideas in mind, which I have out to some of my family members who also quilt and of course my husband who does get allowed some input as he will also be sleeping under it. So here are the options chalked in, feel free to leave a suggestion in the comments…

1. Stitch in the ditch where the borders seams are on the front of the quilt.

2. Continue to echo quilt to the first border.

3. Echo quilt the side points and quilt a star identical to the centre star in each corner.

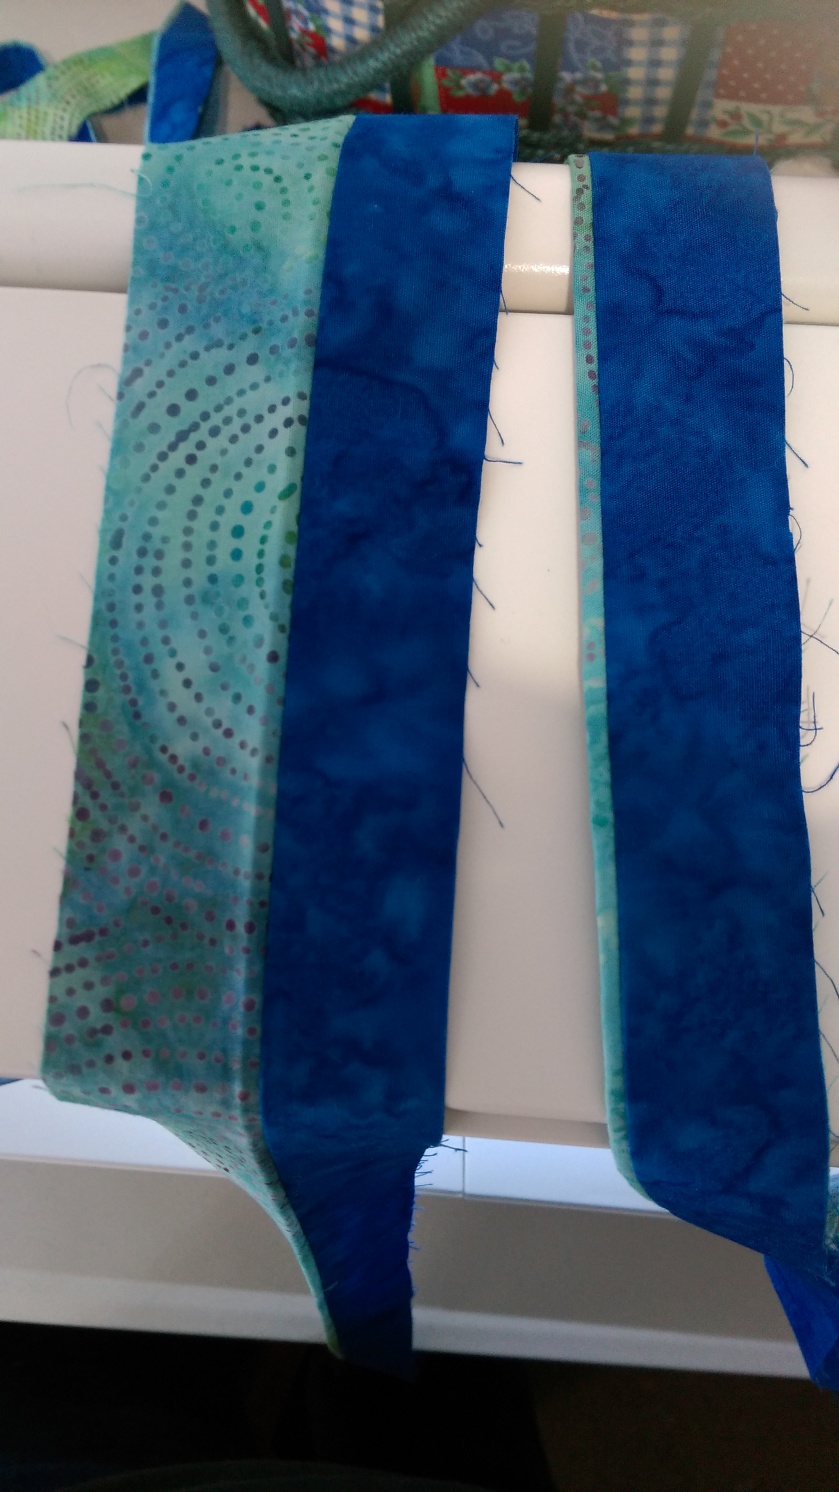
As for the borders I have an idea of what I want to do for the pieced border, and I think a diagonal cross hatch on the 2 outer borders. Just so you know I have done some free motion quilting practice, but am not yet happy enough with the results to include it in any of my quilts, so straight line quilting it is for now.

Thank you for visiting, please leave your suggestions as to which quilting design you like to continue this project.

Blessings Ruth

Busy Busy

What a couple of weeks it has been, lots of extra work which is a good thing, that means more money for fabric.

I have not been able to get the matching fabric for the sashing of my hearts quilt, so I have chosen a light mint green.

imag1122.jpg

So tomorrow I have a break from driving long enough to come home and get some of these sashings done, keeping in mind I have to remove the white sashings that I have already sewn on so I can sew on the green ones…

In the meantime I have spent two Sundays sewing my 2 1/2 inch squares into 5 x 5 squares, although so far I have twenty 5 x 4 blocks and twenty 5 x 3 blocks which I will get back to finishing when I have done my sashings.

imag1123.jpg

Then of course I still want to quilt 4 finished quilt tops before Christmas, so it is off to the quilt store to purchase backing fabrics.

Thanks for visiting, happy quilting. 🙂


Murphy’s law.

“Whatever can go wrong will  go wrong.”

What a week I have had, I finally got the fabric that I have been waiting for 3 months for to finish my quilt. My goal was to use it for the sashings I needed to finish my quilt top, then I was going to be able to start on my next project. This was a promise I had made to myself because after waiting for so long I had lost the drive to finish this quilt top.

I had spent all Wednesday afternoon and most of Thursday afternoon cutting 1000 x 2.5 inch squares for my scrap quilt. I am doing the Irish Star quilt along by Deanna at Wedding Dress Blue Blog. https://weddingdressblue.wordpress.com/irish-star-quiltalong/

imag1101.jpg

So after cutting all of those squares I cut the fabric for the sashings of my hearts quilt and spent the evening putting some of them in my quilt. Friday afternoon, I decided to finish the sashings ready to start my new quilt on Sunday. (Every second Sunday my daughter, daughter in law and myself get together to quilt). I lay out the blocks that I have finished in order only to discover that in the light of day the fabric does not match it is a different shade of white. I am now in a position that I cannot proceed with this quilt unless I can find a matching fabric because all of the blocks have the original white as a background. If I cannot match the white, I will have to have another colour for the sashings, and of course there is all of that unsewing to do as well 😦

IMAG1113

Needless to say, I considered the situation as it was and decided that I had done as much as I could on the heart quilt, so when Sunday rolled around I started my Irish star quilt. Although it is a scrap quilt, I am a little or maybe a lot OCD, so the blocks are going to be the same not scrappy with the exception of some that will be slightly different because I didn’t have enough of a couple of the fabrics so I substituted a similar colour and I joined a couple to get enough of another colour.

imag1102.jpg

This is how the blocks will be laid out, I plan to make the stars yellow, so I will need too get some more fabric for those. I have already completed stitching the 2 top rows together and made a start on the third row. I have 40 of each of these.

imag1112.jpg

Thank you for reading, please visit again.

How did I get here?

I’m not really sure how I got here, but here I am.

My name is Ruth, and I am a Grandma, which is to me the most amazing thing in the world. I love to make quilts and do cross stitch for my family, they are the most important people in my life. To fund my addiction to Quilting and Cross Stitch, I drive a school bus, my bus is usually filled with great kids, not always well behaved, they are kids after all. Did I mention I like my job? I really do. That’s enough about me.

I am am here because of the quilts. I have seen so many blogs, You Tube’s and websites about quilts that I was inspired to do my own blog. In this blog I will do a weekly check in of the progress I am making on my projects, with pictures and some how to instructions.

Since I currently have several projects at various stages of completion I will not be able to show some of the steps that have already been completed. Right now I am about to attach a flange binding to a quilt I have completed for one of my nieces.

IMAG1098

Flange binding:

IMAG1093


To make flange binding, you need to sew the 2 chosen fabrics that you want to use together lengthwise. I make my binding 2 1/4″ wide for ease of cutting. I cut the piece that I want to use for the flange part (the small sliver of colour that shows just on the edge) at 1 1/2″ wide and the main colour at 1 1/4″ wide giving a 1/8″ flange. I join each colour separately to make my long strips, then I join the 2 strips together lengthwise using 1/4″ seam and press the seam toward the narrower strip (Pictured on the right). If you want to have a 2 1/2″ binding you can cut your strips 1 3/4″ & 1 1/4″ which will give you a 1/4″ flange or 1 5/8″ & 1 3/8″ for a 1/8″ flange. Fold in half lengthwise and press (Pictured left).

IMAG1094

Attach the binding to the reverse side of your quilt with the flange facing down.

IMAG1095

After binding is attached and joined fold around raw edge of quilt and stitch down on the front either by hand or machine, stitching in the ditch of the flange join.

Hope this blog is helpful to you on your quilting journey.